The desktop studio — menu-bar commands, keyboard shortcuts, and pointer-perfect control.
No topics match — try a different word.
What everything is
The Mac editor mapped out, then every button pictured and named.
The editor, at a glance
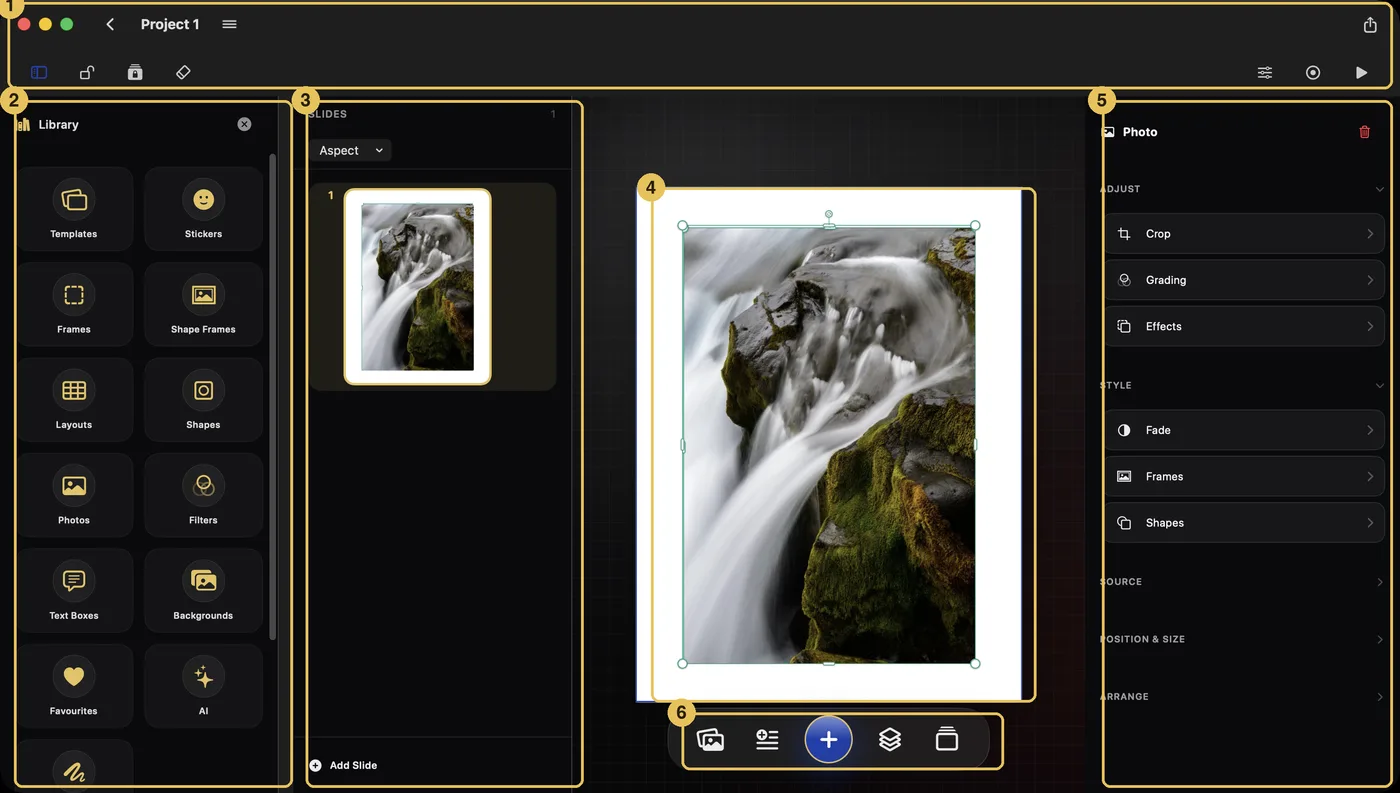
Every area on screen, numbered and named.
1 — The chrome: your way back, the project's name, the ☰ menu, and Share on top; the tool row underneath.
2 — The Library: everything you can add, always at hand.
3 — The slide navigator: all your slides in a filmstrip.
4 — Your slide: the white page where everything lives.
5 — The inspector: tools for whatever you've selected.
6 — The toolbar: Photos · Text · Add (+) · Layers · Slides.
The Mac chrome, button by button
Two rows: the title row, then the tool row.
The title row holds your way back, the project's name, the ☰ menu, and Share. The tool row underneath runs the workspace — panels on the left, actions on the right. Hover any button for its name; every button also lives in the menu bar at the top of your screen.
My Projects
Back to your project library — work saves itself.
Menu (☰)
Settings, exports, and extras — including this Handbook.
Share
Export your carousel as images (⇧⌘E shares, ⌘E exports).
Library
Show or hide the Library panel on the left.
Zoom lock
Freeze the canvas zoom so a stray scroll can't move it (⌥⌘Z).
Lock All
Pin every item on the slide in place (⌥⌘L).
Erase
Clear this slide, or start the whole project over (⇧⌘⌫).
Format
Show or hide the tools panel on the right (⌃⌘I).
Record
Film your canvas while you build — a making-of video (⌥⌘R).
Play
See your carousel full-screen, as your audience will (⌥⌘P).
Columns when there's room, drawers when there isn't.
On a wide screen the Library, navigator, and inspector sit beside the canvas as columns. When the window narrows — Split View, Slide Over, portrait — they fold into overlay drawers so your slide always keeps its space.
Your first carousel
Five small steps. You'll be done in five minutes.
Step 1
Create a project
Start from the Projects screen.
A carousel is a set of pictures people swipe through, like an Instagram post with several pages. Tap the New Project tile and Krevez opens a blank first page — it saves itself as you work.
Step 2
Put a photo on your slide
From your library, camera, or Files.
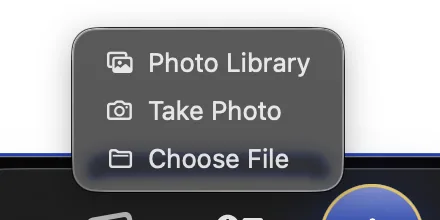
↳ Click the Photos button in the bottom toolbar
Choose Photo Library and pick a picture — it lands on your slide, selected and ready to move or resize. (You can also drag a photo straight from another app onto the canvas.)
Step 3
Add your words
Type, then style in the inspector.
↳ Click the Text button, next to Photos
Type your text, then tap away to finish. While text is selected, the inspector on the right offers its tools: typeface, size and colour, curves, and more.
Step 4
Add more slides
The filmstrip on the left.
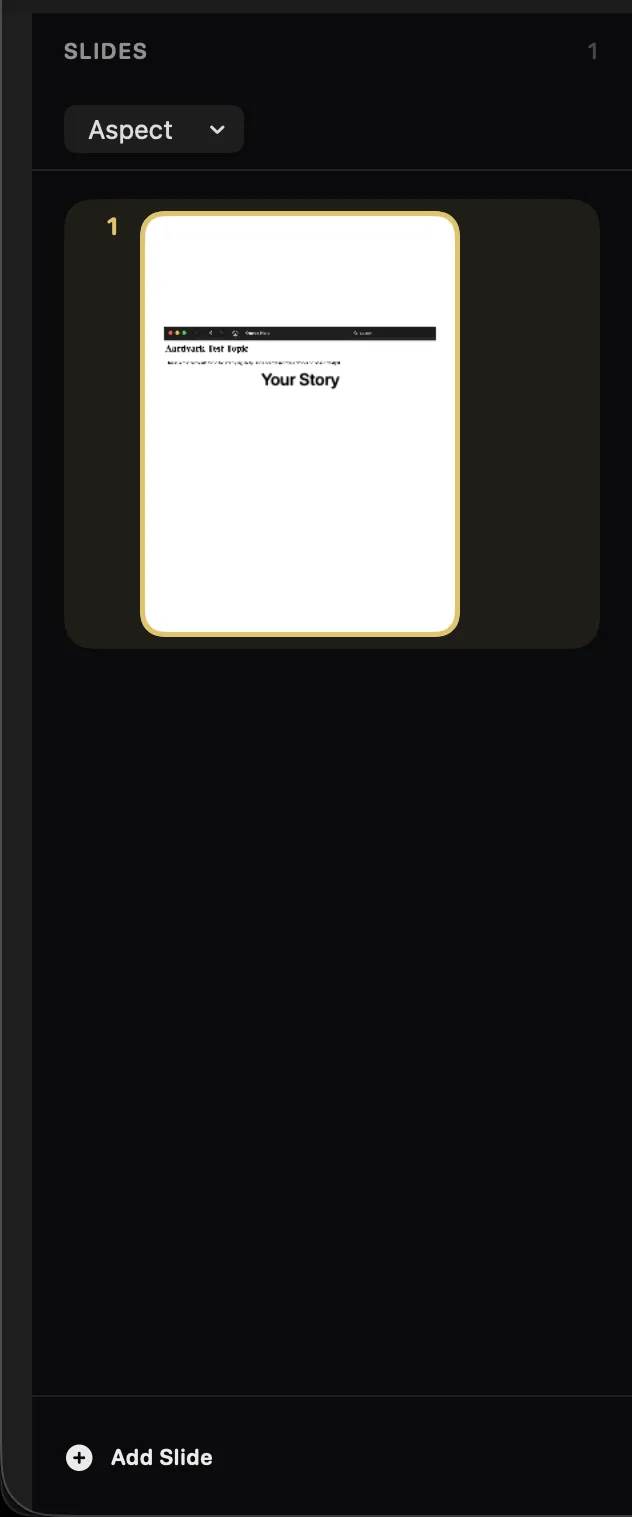
↳ Click the Slides button, right end of the toolbar
The navigator shows every slide as a filmstrip. Tap Add Slide at the bottom for a new page, tap any slide to jump to it, or drag to reorder.
Step 5
Share it
Ready to post.
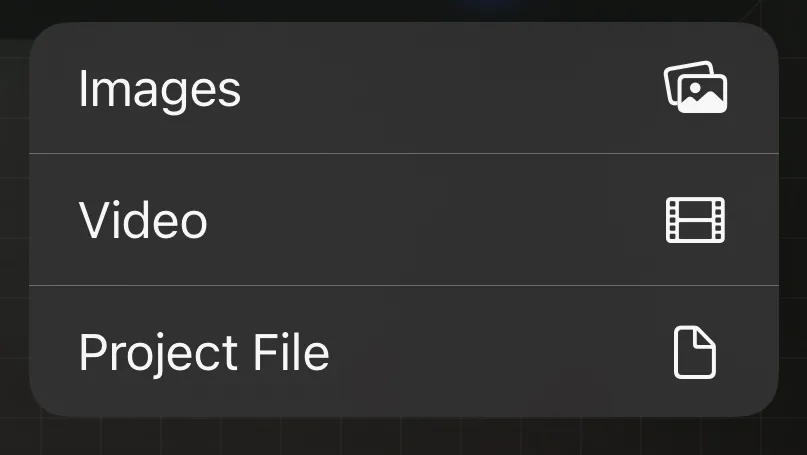
↳ Click Share in the top toolbar
Choose Images and every slide is exported, ready to post anywhere. Video and Project File live in the same menu.
Touching things
Fingers or Apple Pencil — the gestures behind everything.
Select, move, resize, rotate
Everything responds to your touch.
Tap anything once to select it — a teal box with handles appears and the inspector fills with its tools. Drag to move, pinch to resize, twist two fingers to rotate, or type exact numbers in Position & Size.
Hold down for quick actions
Lock, duplicate, or delete anything.
↳ Right-click (or click and hold) any item on the slide
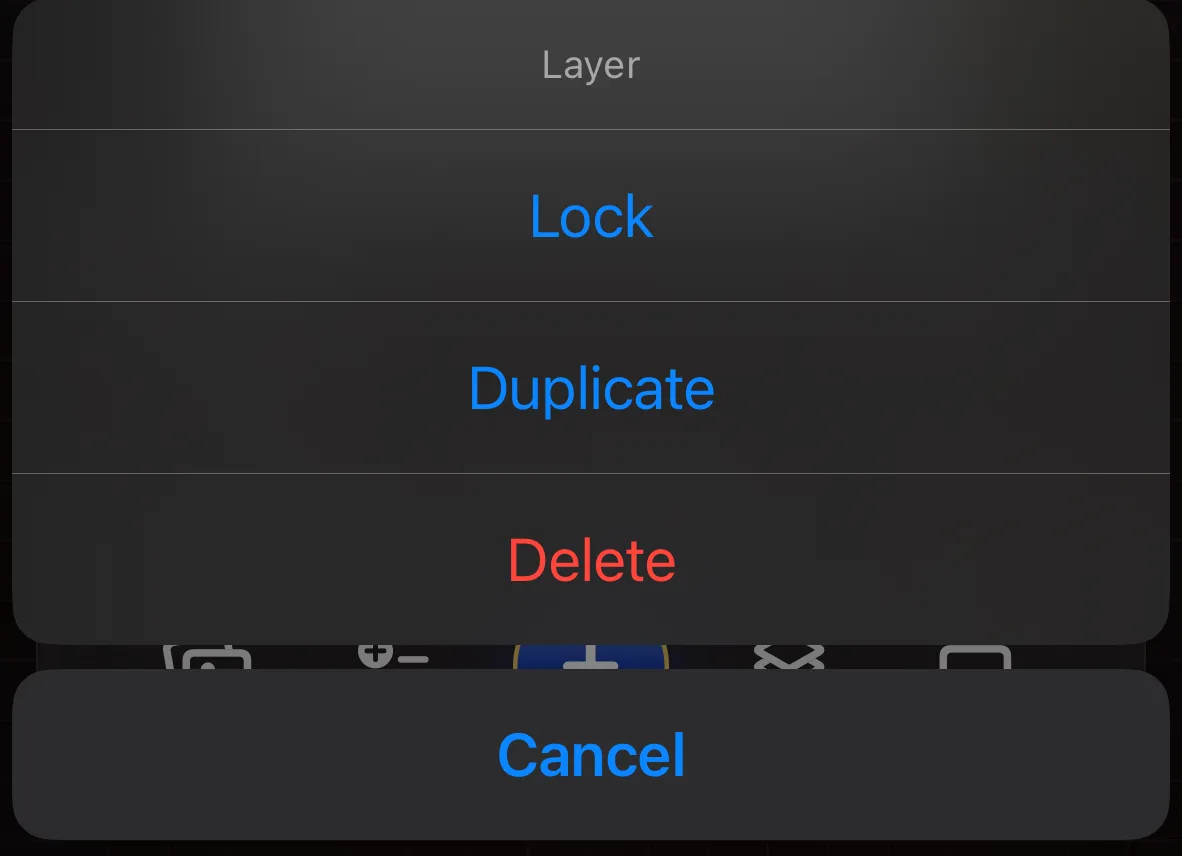
Press and hold any item for half a second: Lock pins it in place, Duplicate makes a copy, Delete removes it. A pointer or trackpad right-click works too.
Zoom, pan, and the zoom lock
Get closer without losing your place.
↳ The padlock lives in the top toolbar
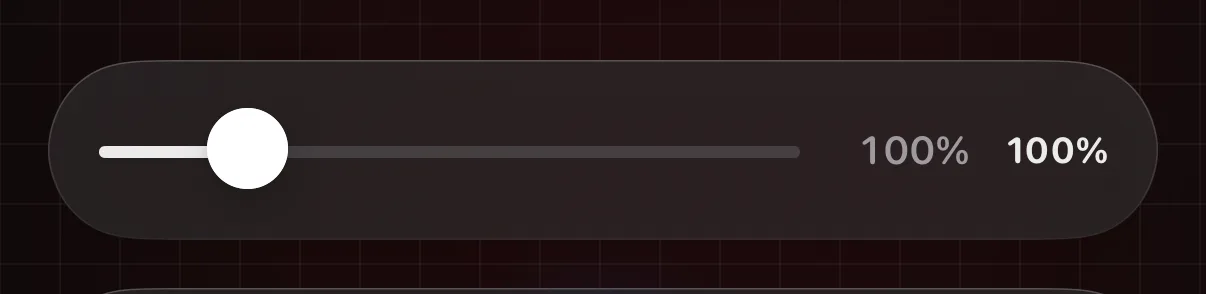
Pinch the canvas to zoom, drag to pan while zoomed, double-tap to snap back to 100% — or use the slider under the slide. The padlock in the top toolbar freezes the zoom while you work close up.
Type exact positions and sizes
Pixel-perfect, keyboard-friendly.
↳ Select an item → Inspector → Position & Size
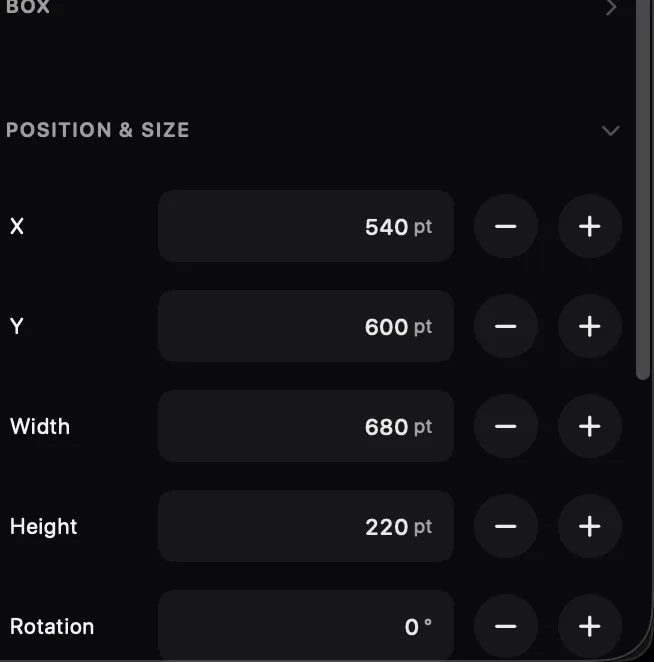
Position & Size in the inspector takes typed values — X, Y, width, height, rotation, and opacity, each with −/+ steppers. The fastest way to line things up exactly.
Apple Pencil
Pressure changes your brush.
Anywhere you paint — fades, custom frames, drawing — pressing harder with the Pencil widens the stroke. A finger paints at a steady width.
Keyboard shortcuts & the menu bar
The Mac way to move fast.
Krevez has a full menu bar — File, Edit, View, Insert, Arrange, and Play — with shortcuts like ⌘Z undo, ⌥⌘P play, ⌘E export, and arrow-key nudging. The complete list lives in Menus & Shortcuts at the end of this Handbook.
The Library
A panel that stays open while you work.
The Library panel
Everything addable, always at hand.
↳ Click the Library button in the top toolbar
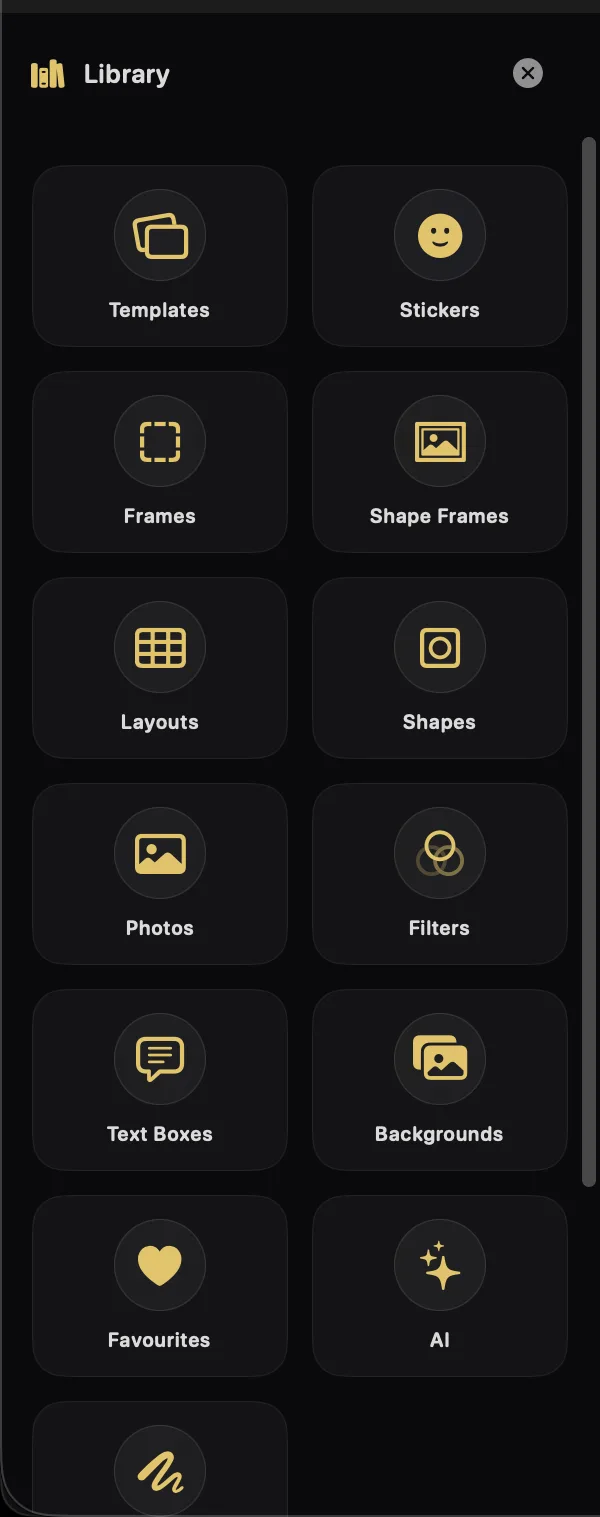
Templates, stickers, frames, layouts, shapes, text boxes, backgrounds, drawing, and AI — all in the left panel, so you can browse without leaving your slide. Your recent photos and starred favourites gather at the bottom.
Browse and place
Tap to add — or drag it into place.
↳ Library → any category
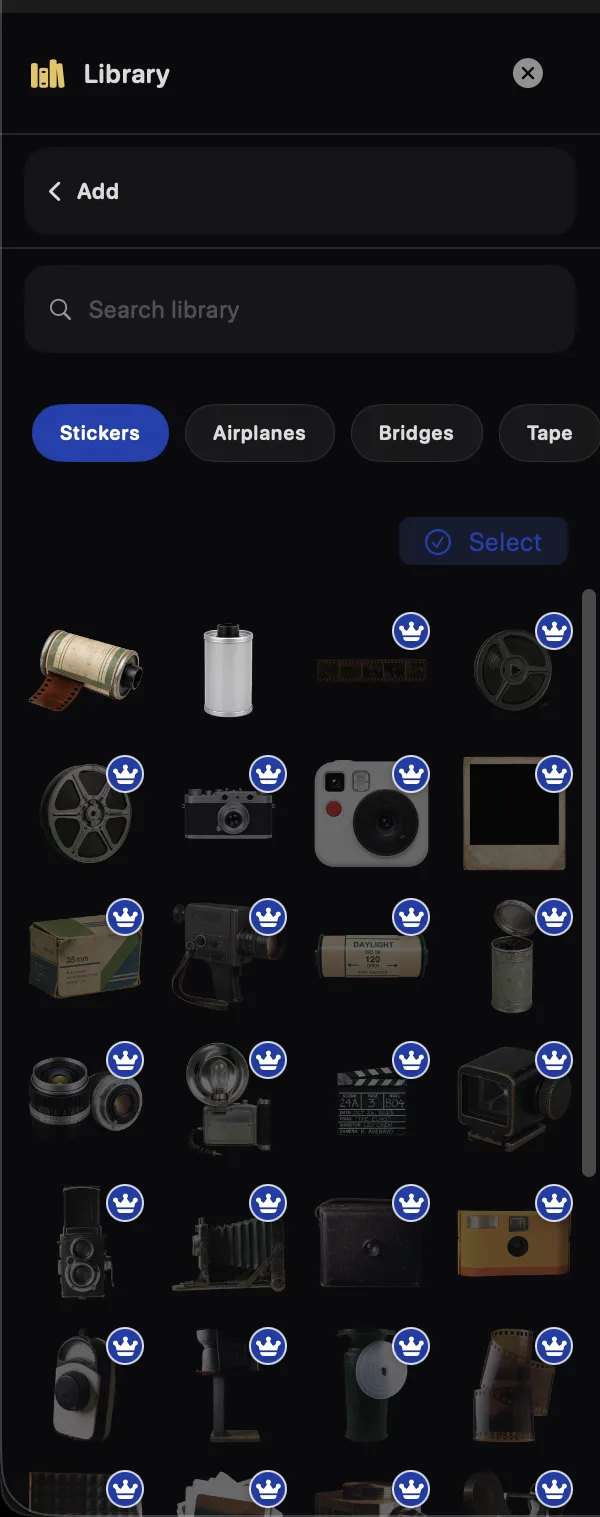
Open a category and tap any design to drop it on your slide — or drag it from the panel to exactly where you want it. Categories, search, hearts, and Pro crowns work just like the phone.
Drag photos in from other apps
Split View superpower.
Put Photos (or any app) beside Krevez and drag a picture straight onto the canvas — a highlight ring shows where it will land.
Slide backgrounds
A colour, a texture, or your own pattern.
↳ Library → Backgrounds
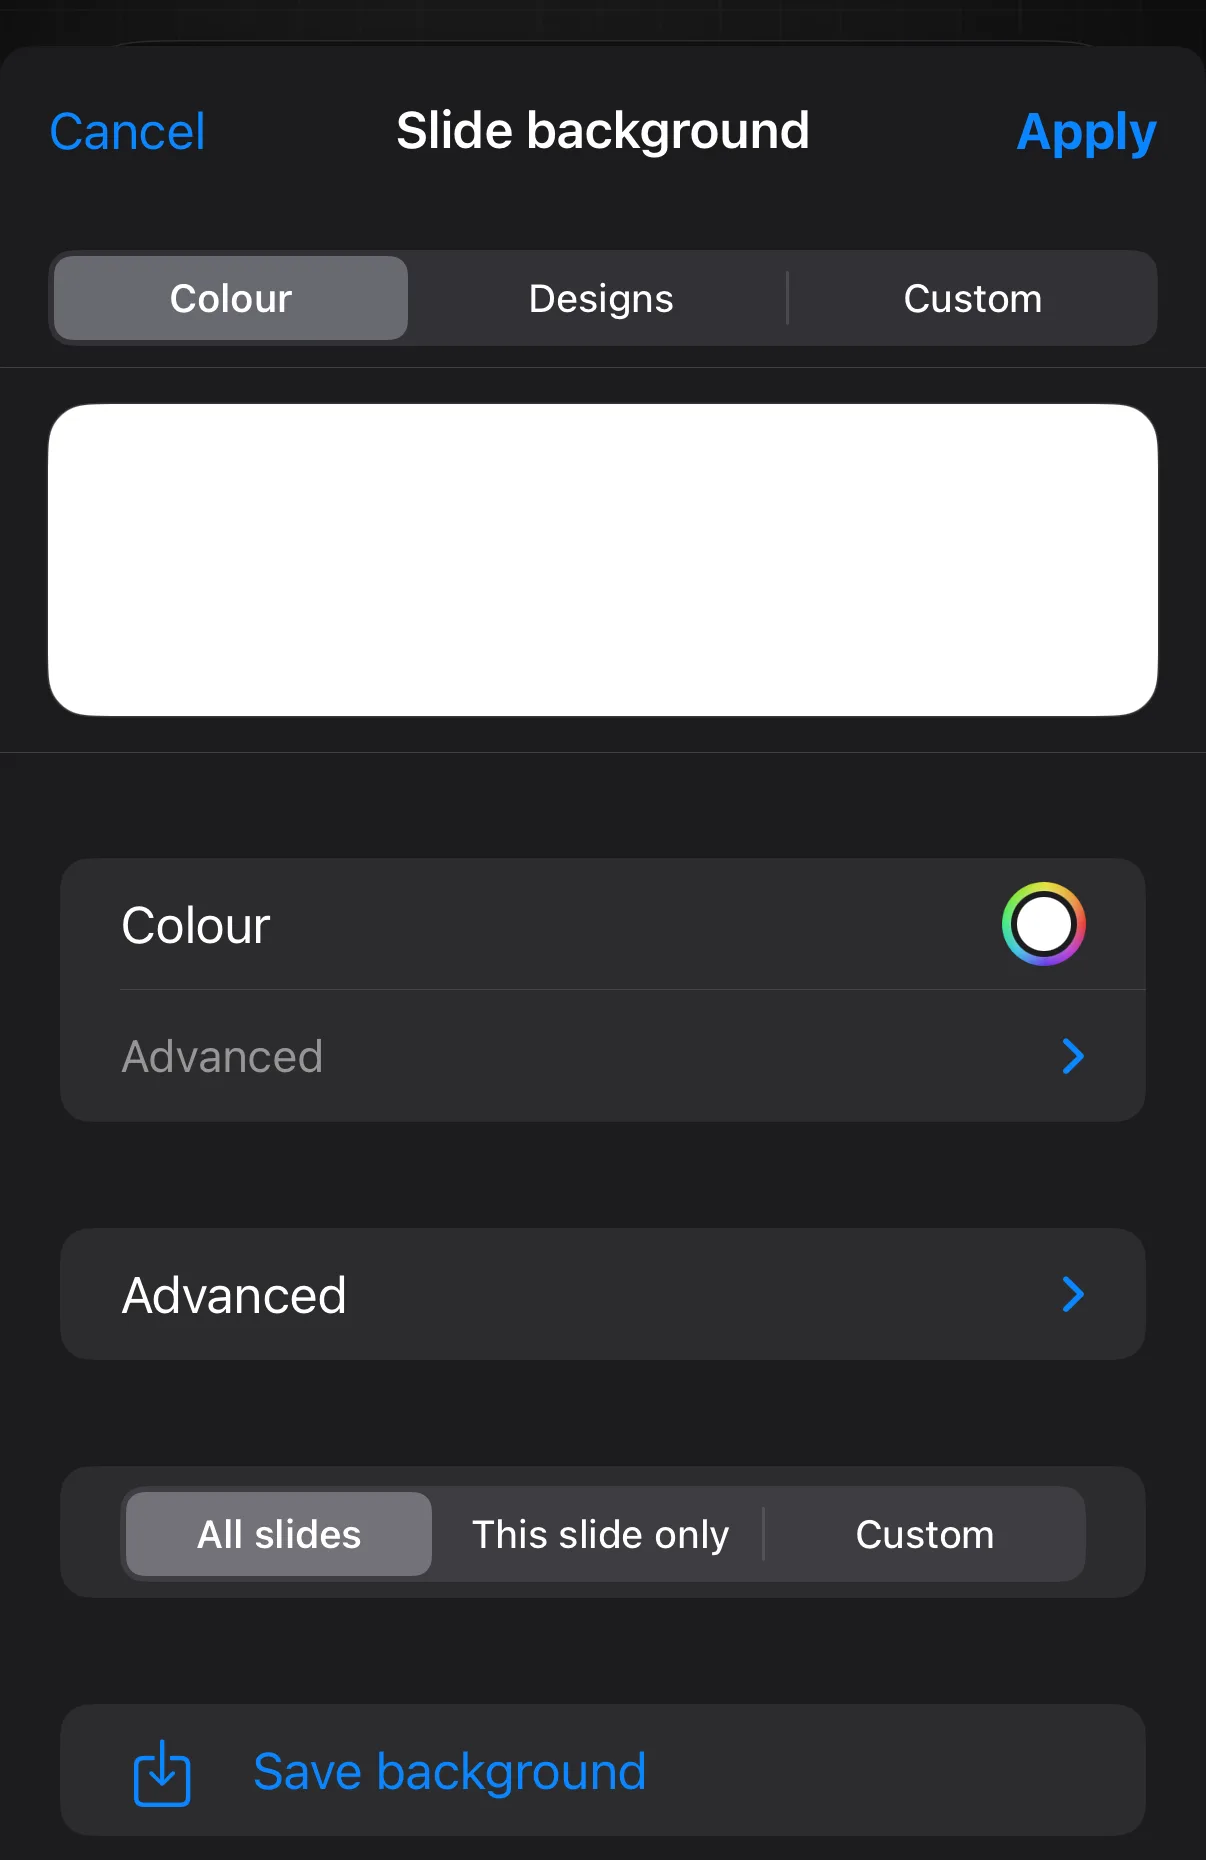
Colour picks any shade, Designs has ready-made textures, and Custom tiles one of your own images. Apply to all slides or just this one.
Working with photos
Select a photo and the inspector fills with its tools.
The photo inspector
Adjust, Style, Source — in one panel.
↳ Click your photo → the inspector, right side
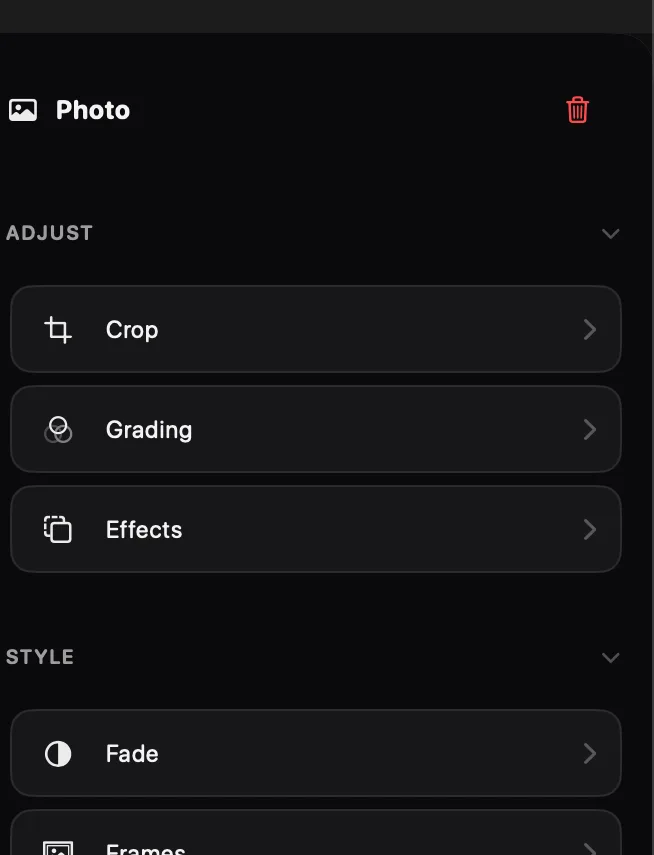
Tap a photo and the inspector offers everything: Crop, Grading, and Effects under Adjust; Fade, Frames, and Shapes under Style; replace and background tools under Source; exact numbers under Position & Size; and stacking under Arrange.
Crop or straighten a photo
Trim it, or level a crooked horizon.
↳ Click your photo → Inspector → Crop
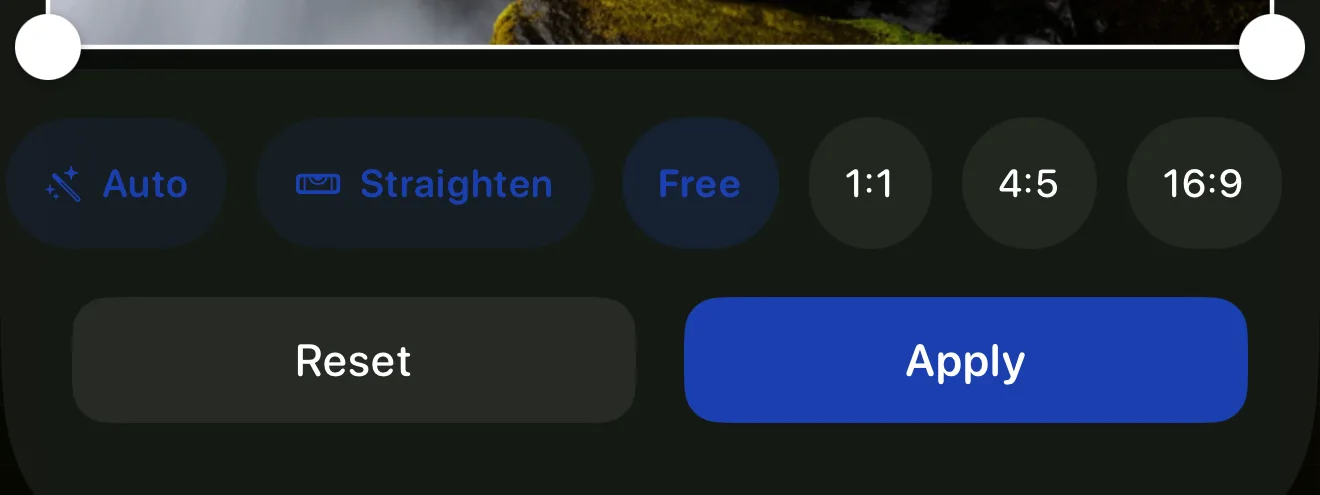
Drag the corners to trim, or pick a fixed shape. Auto suggests a crop around your subject; Straighten levels the photo in one tap.
Filters & colour
One-tap looks, or fine control.
↳ Click your photo → Inspector → Grading
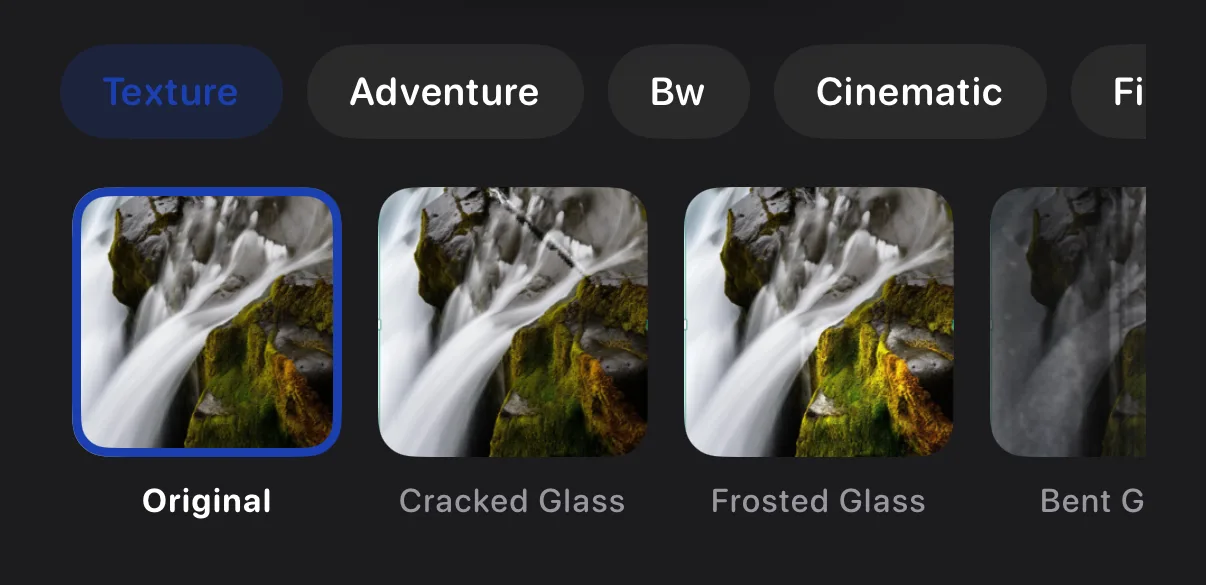
The Filters tab has ready-made looks; Colour Grading has sliders for warmth, exposure, and more. Save your own look as a filter.
Shadow, outline & corners
Give a photo some polish.
↳ Click your photo → Inspector → Effects
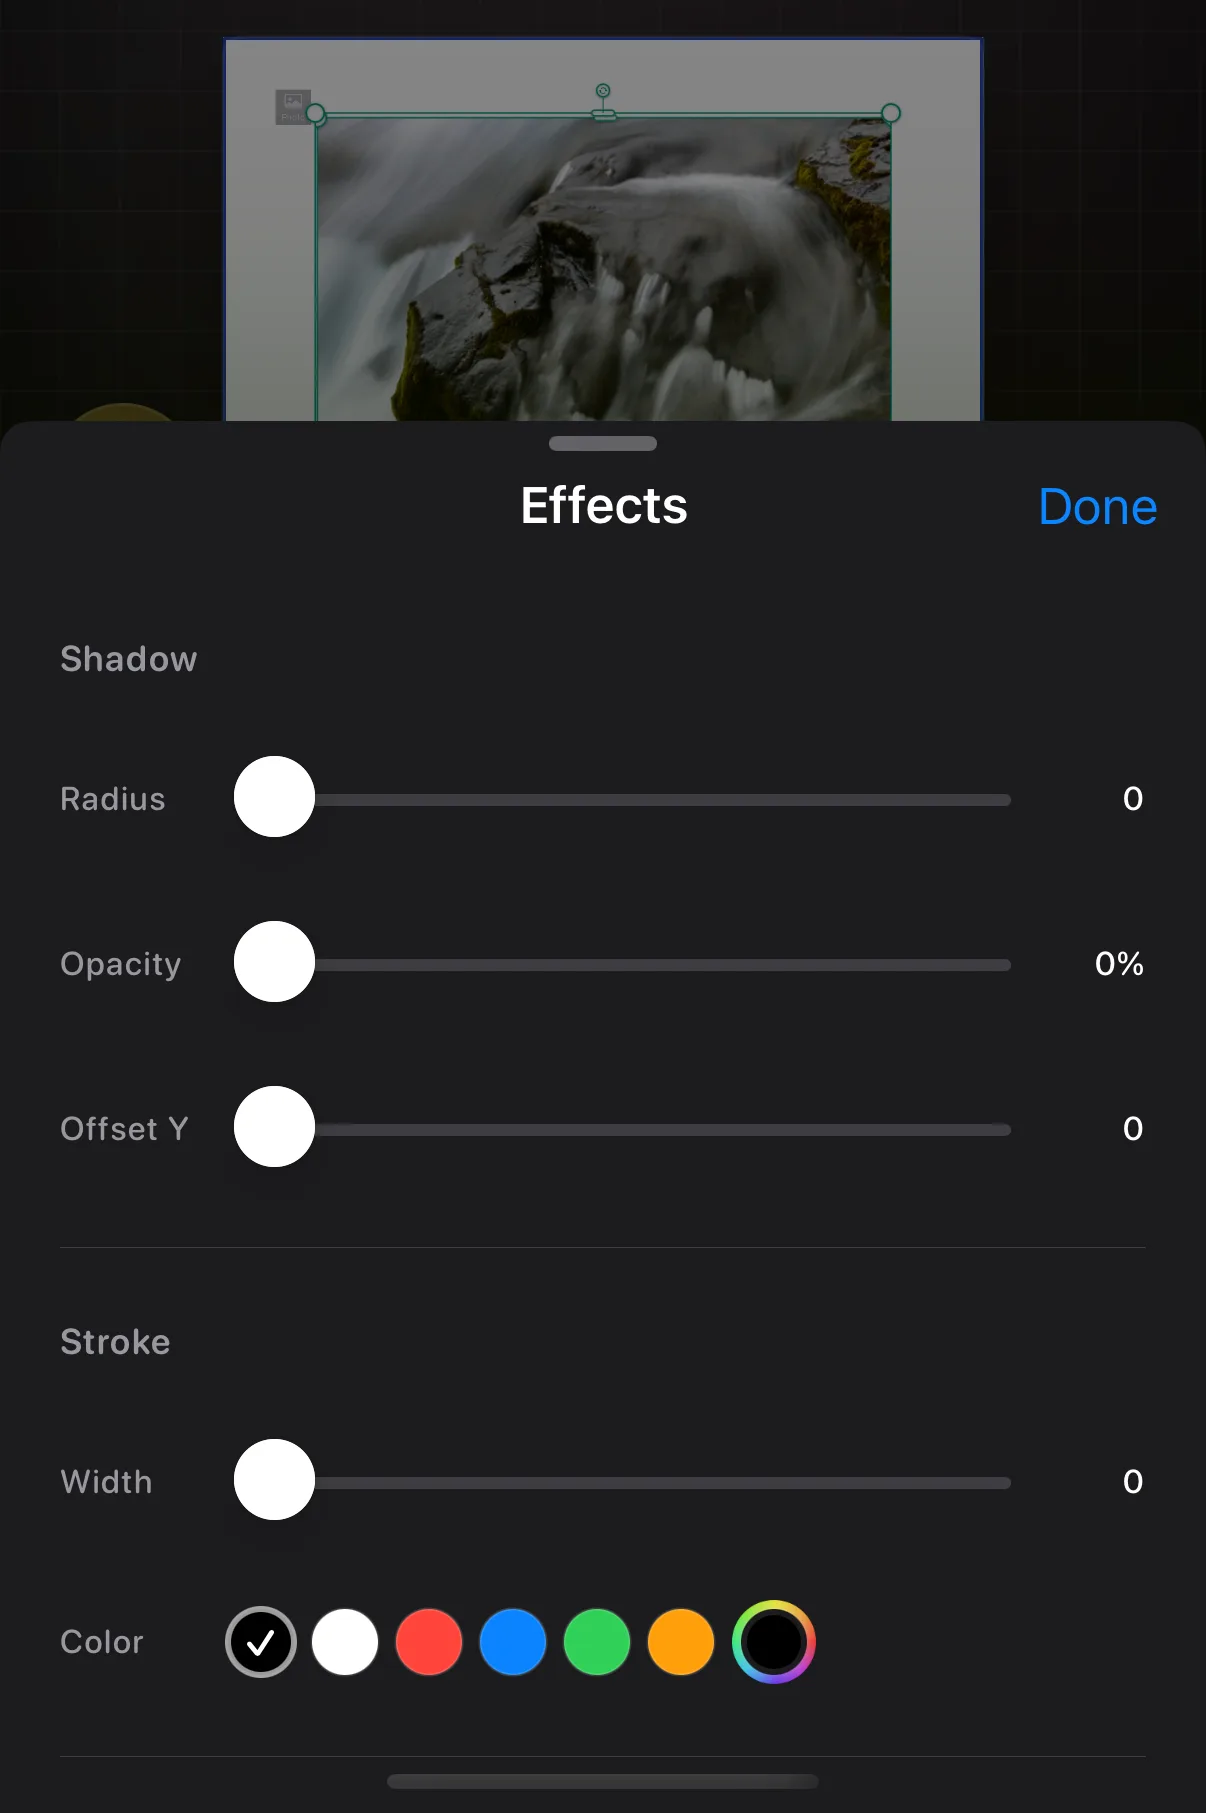
Effects adds a soft shadow, a coloured outline, or rounded corners — each with its own slider.
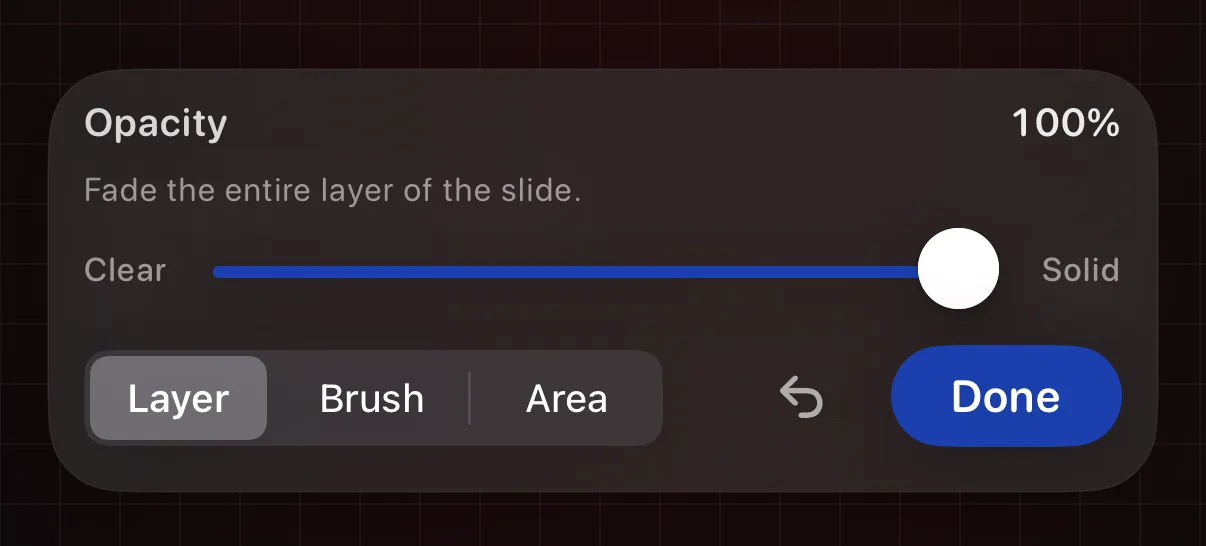
Fade a photo
See-through, all over or in places.
↳ Click your photo → Inspector → Fade
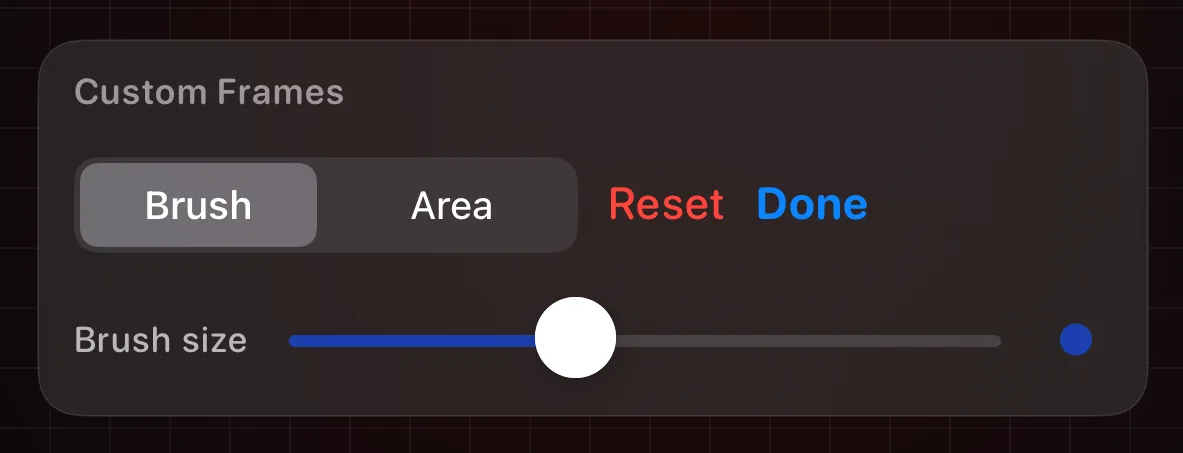
Layer fades the whole photo evenly, Brush paints the fade (Pencil pressure sets the width), Area fades a rectangle, and the wand fades the background automatically.
Background removal, stickers & more
The smart photo actions.
↳ Click your photo → Inspector → Source / Style
Under the inspector's Source and Style sections you'll find Replace photo, Remove background, Make sticker from subject, Frame the subject, and Shape Frames — the same one-tap actions as on iPhone.
Adding words
Select text and the inspector switches to type tools.
The text inspector
Font, Style, Box — in one panel.
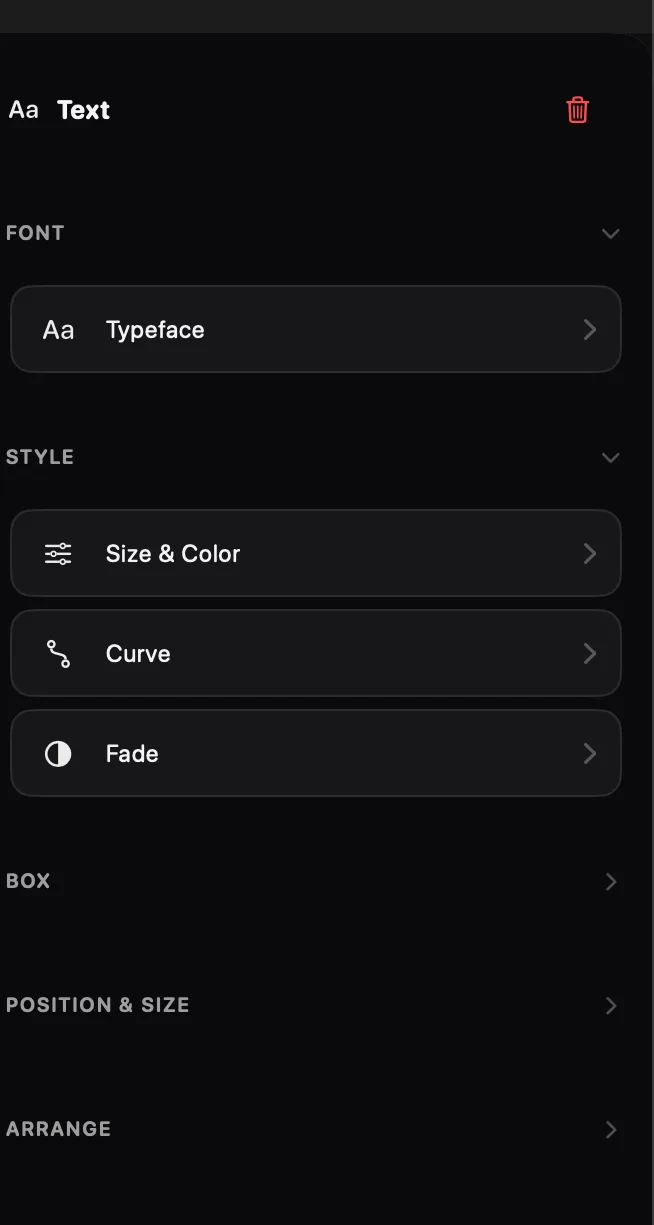
↳ Click your text → the inspector, right side
Tap your text and the inspector offers Typeface, Size & Color, Curve, and Fade, plus Box styles, exact Position & Size, and Arrange.
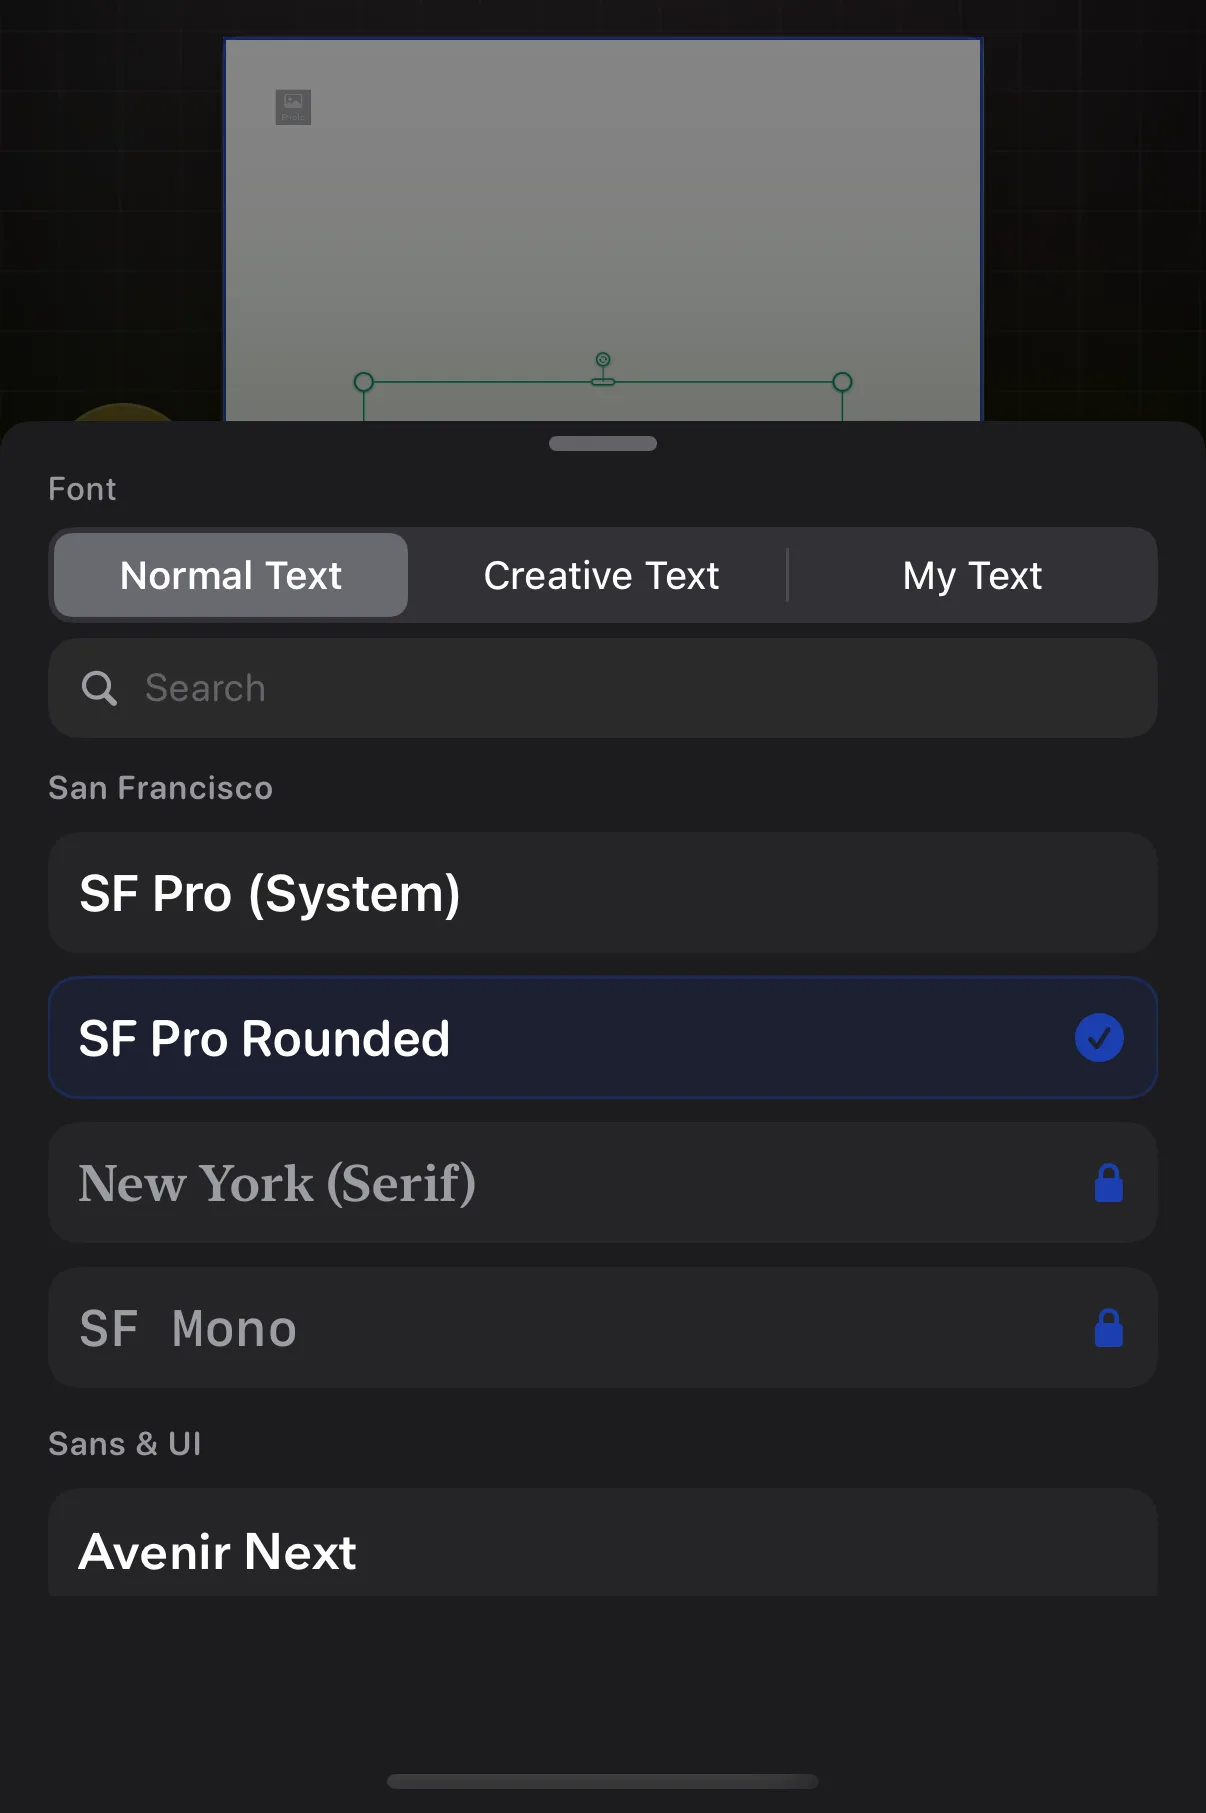
Change the font
Normal, decorative, or your own.
↳ Click your text → Inspector → Typeface
Normal Text is everyday fonts, Creative Text is decorative lettering, My Text is fonts you've imported. Search works across all of them.
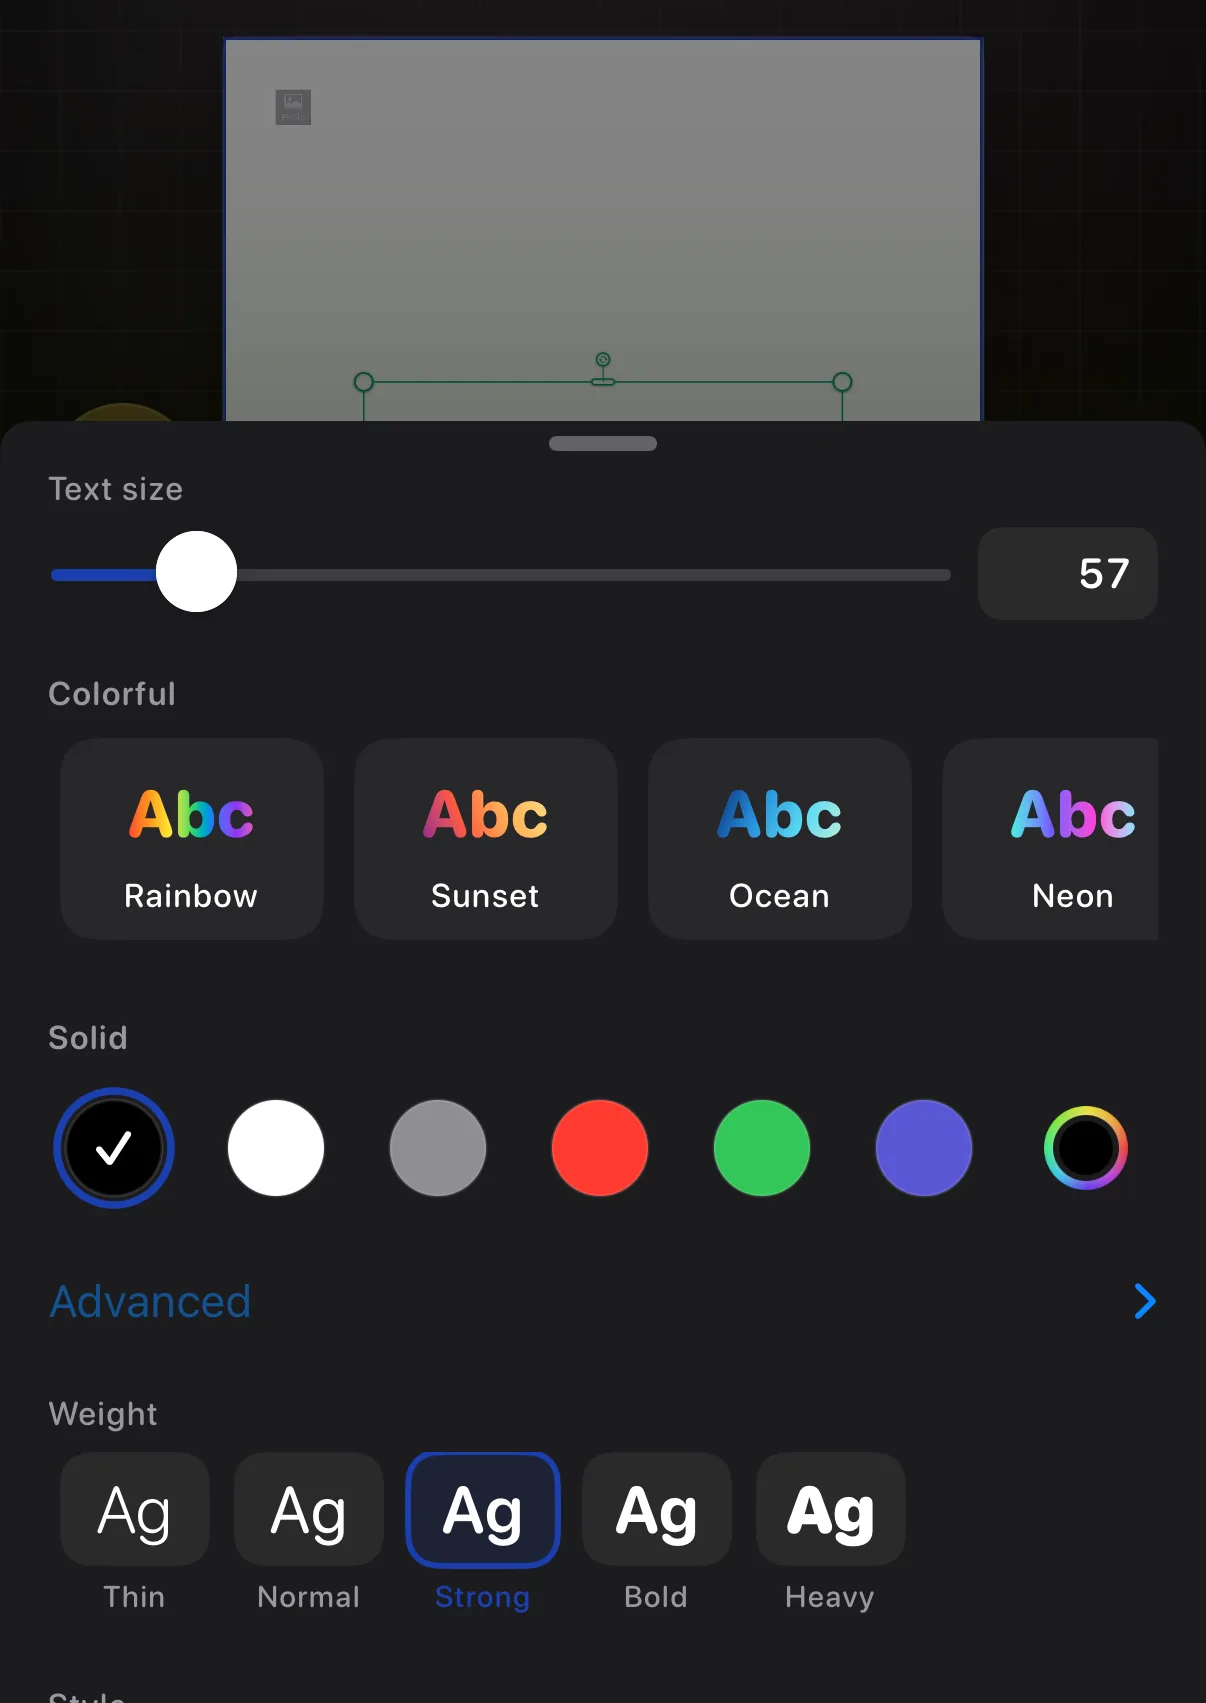
Size, colour & thickness
Make it bigger, bolder, brighter.
↳ Click your text → Inspector → Size & Color
Size, solid colours and gradients, saved brand swatches, weight from Thin to Heavy, italic, underline, strike, and auto-fit.
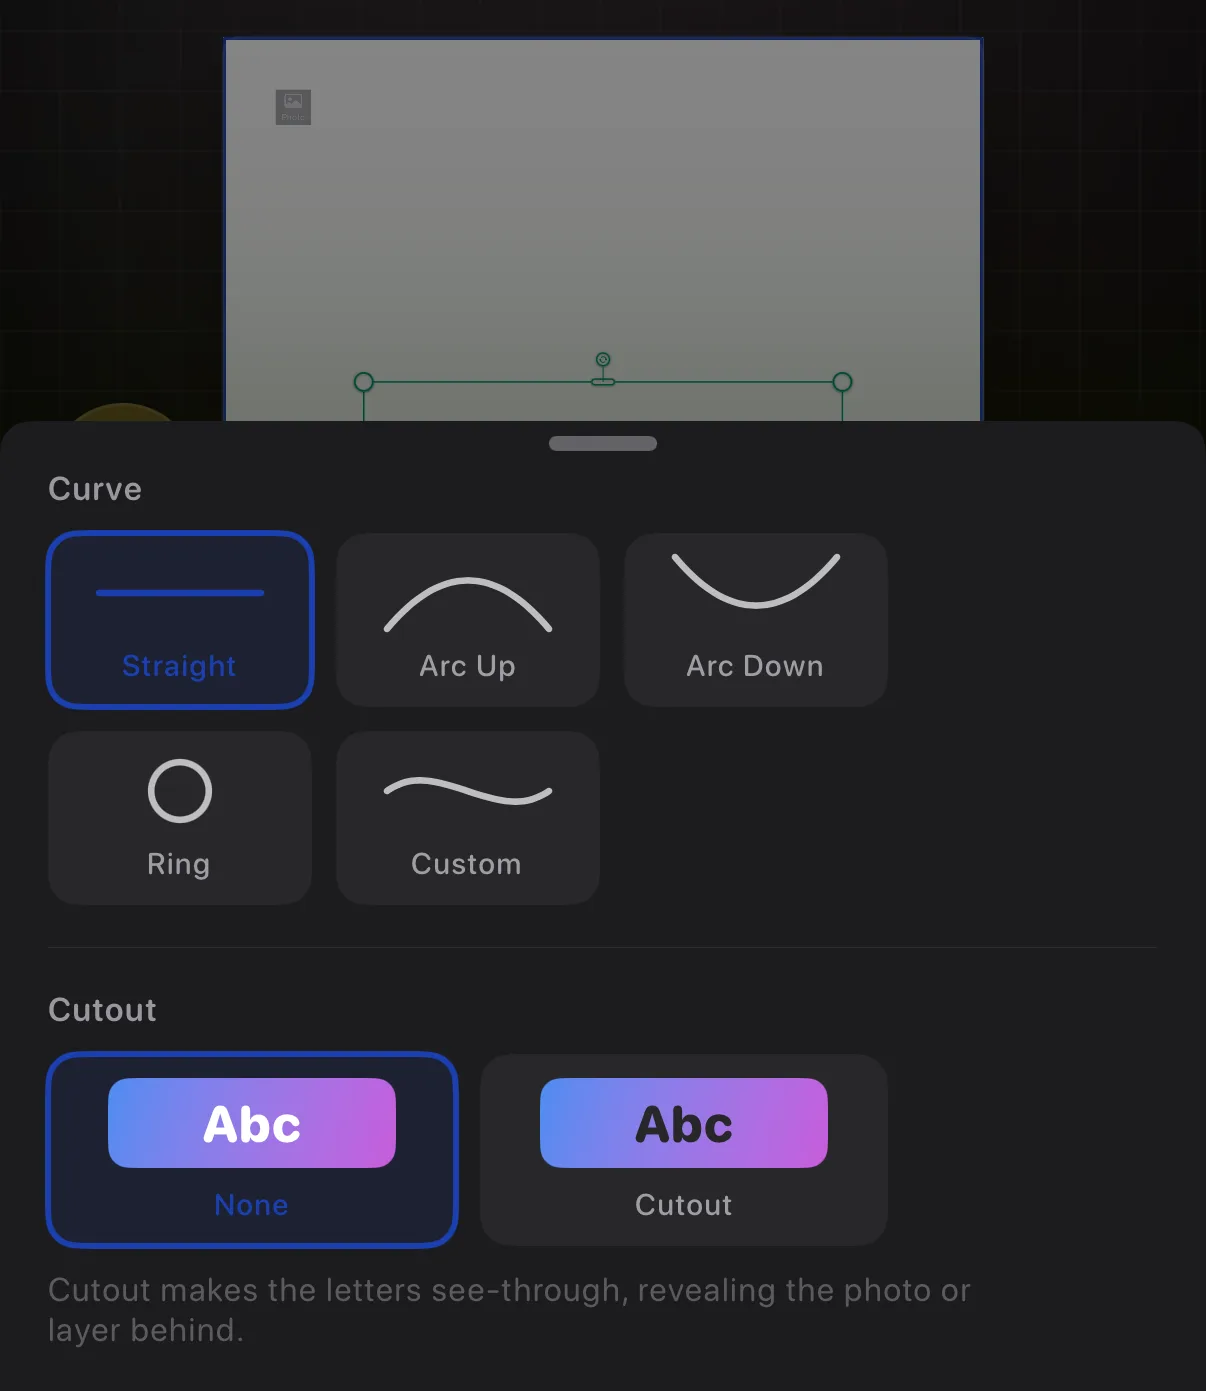
Bend text, or make it see-through
Arcs, rings, and your own curves.
↳ Click your text → Inspector → Curve
Curve bends your words along an arc, a ring, or a Custom line you draw yourself. Cutout makes the letters transparent so the photo shows through.
Your slides
The filmstrip, the shape, starting over.
The slide navigator
Your whole carousel in a filmstrip.
↳ Click the Slides button in the bottom toolbar
Every slide, in order, beside your canvas. Tap to jump, drag to reorder, Add Slide for a new page — and the Aspect chip at the top changes your carousel's shape.
One photo across several frames
The "peephole" trick.
↳ Right-click (or click and hold) a frame or layout → Merge frames
Hold down a frame, layout, or template and choose Merge frames, then tap the others and hit Merge — one photo shows through all of them. Select the merged group and tap Unmerge to undo.
Start over
The eraser in the top toolbar.
↳ Click Erase in the top toolbar
Erase asks whether to clear just this slide or every slide. It always asks first — and Undo can bring things back.
Finishing & sharing
Getting your carousel out of the app.
Export your carousel
Images, a video, or a project file.
↳ Click Share in the top toolbar
Images saves every slide as pictures, Video renders a slideshow clip, Project File packages everything for another Krevez. On Mac the share options appear in a popover by the Share button.
Record your canvas as you build
A making-of video for reels.
↳ Click Record in the top toolbar
The Record button films your slide while you edit. Stop when done, pick playback speeds per section, and save the video.
Save a design to reuse
Your layout, again and again.
↳ ☰ menu → Save as Template
Save as Template keeps this project's whole design in your Templates — next time, start from it instead of a blank page. Export format (JPEG or HEIC) lives in the same menu.
Back at your projects
A sidebar library with drag and drop.
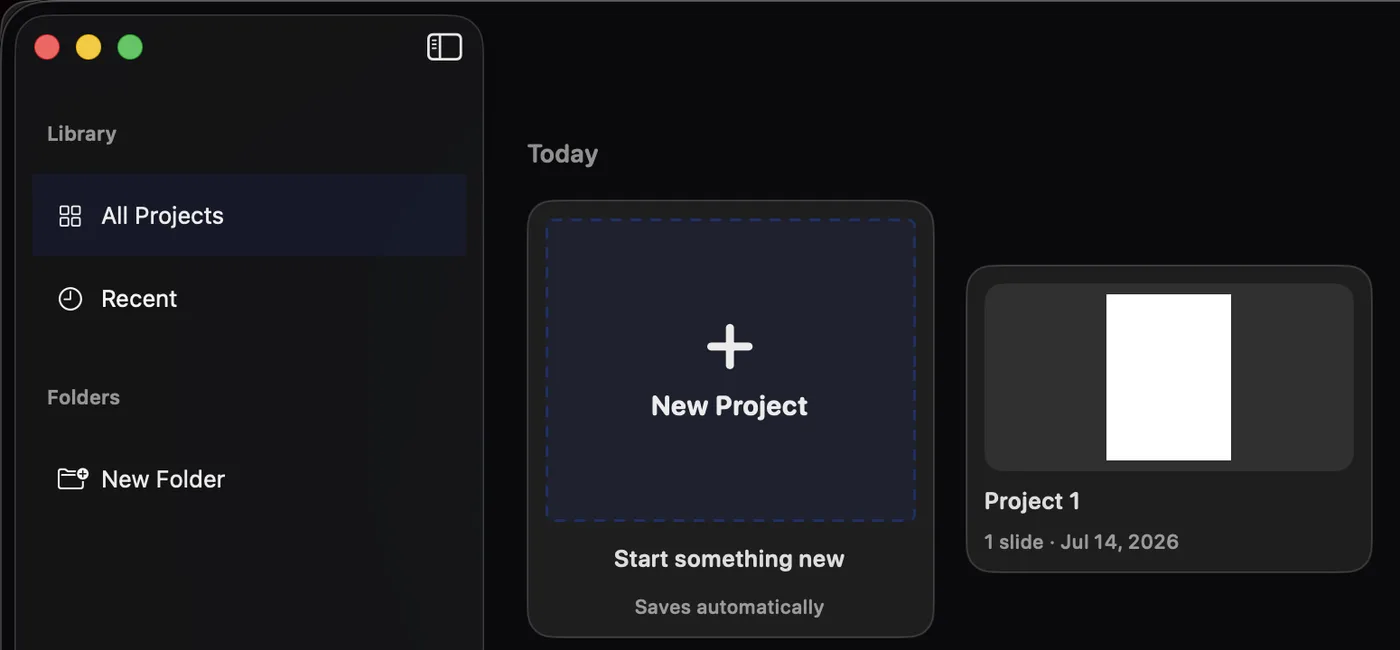
The Projects screen
Sidebar, search, folders, drag-out.
All Projects and Recent live in the sidebar, with your folders below — drag a project onto a folder to file it, or drag it out of the app to share it as a project file. Search, sort, import, and your account sit in the toolbar.
Folders & tidying up
A series, a client, a theme.
↳ Projects sidebar → New Folder
New Folder in the sidebar creates one; drag projects in, or use Select to move or delete several at once. Everything saves and syncs with iCloud when it's on.
Make it yours
Optional helpers and your account.
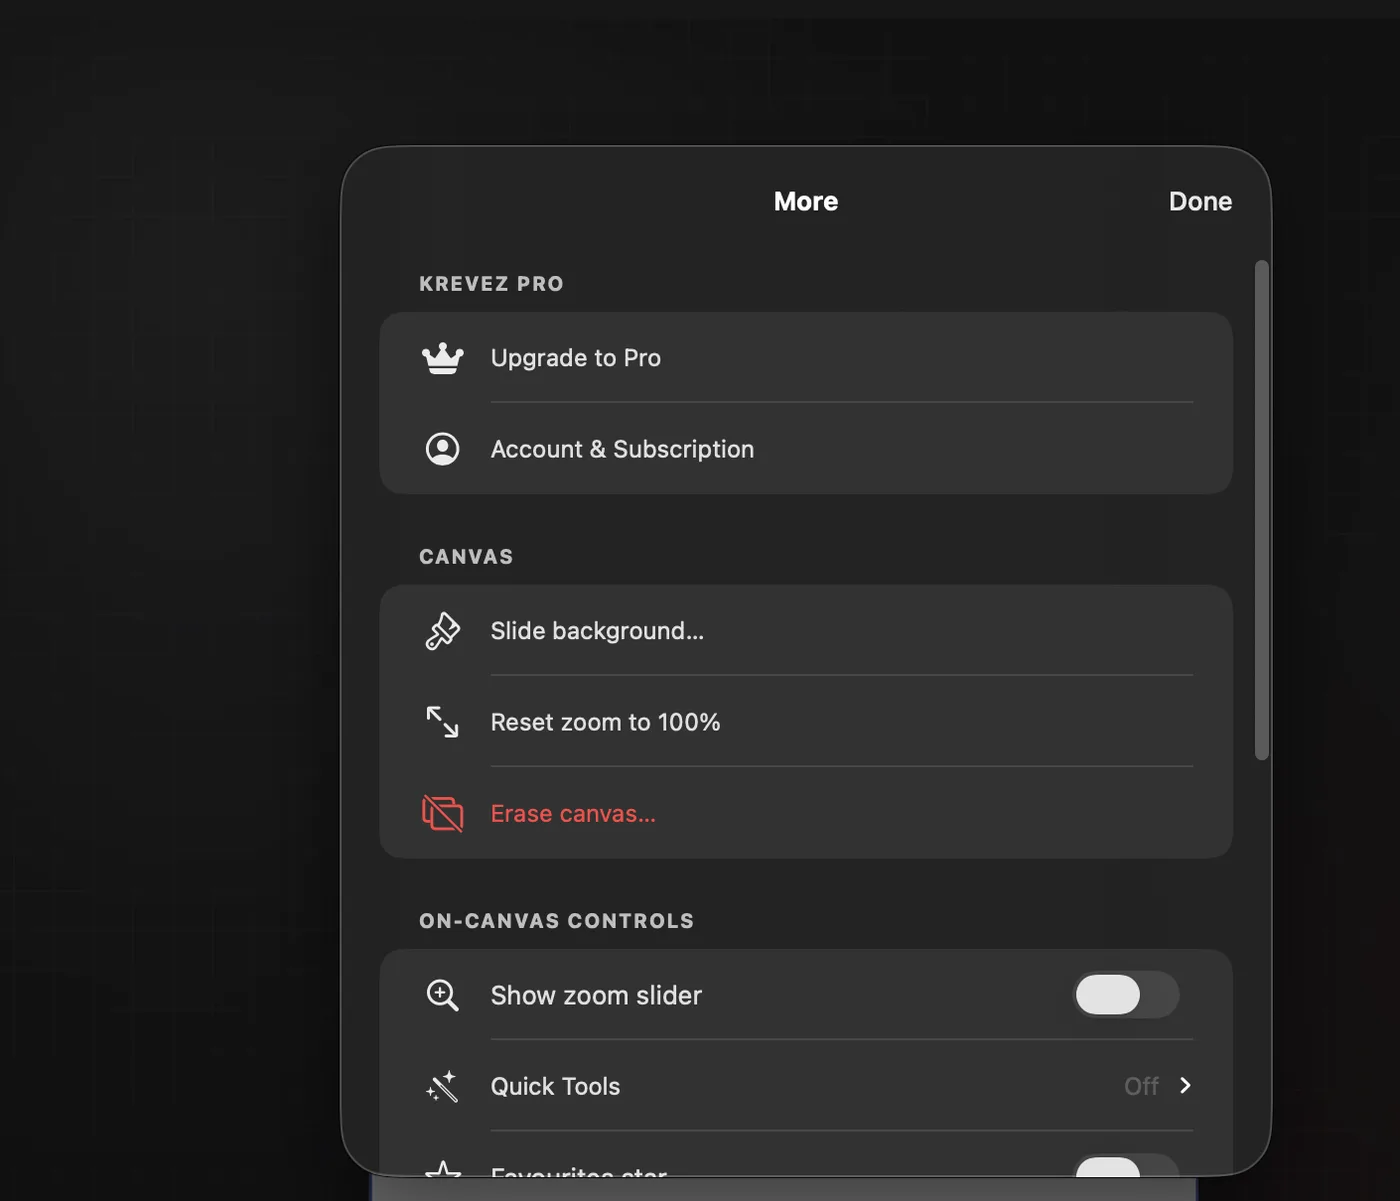
The ☰ menu
Settings and extras, in a popover.
↳ Click Menu (☰) in the top toolbar
Your account, canvas options, on-canvas controls, exports, and app settings — including this Handbook — all live in the ☰ popover.
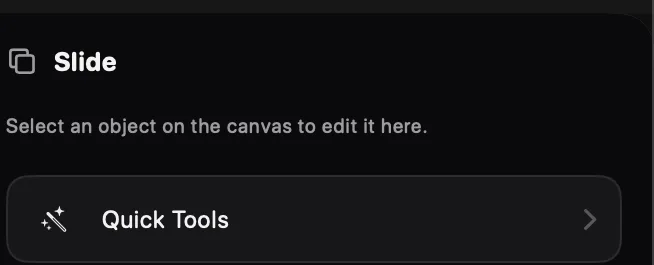
Quick Tools — your shortcuts
A floating button of favourites.
↳ Inspector → Quick Tools (nothing selected)
Star up to 8 tools and the floating gold button keeps them one tap away, right on the canvas. It shows only tools that fit your selection, and you can drag it anywhere.
What's free, what's Pro
The crown badges explained.
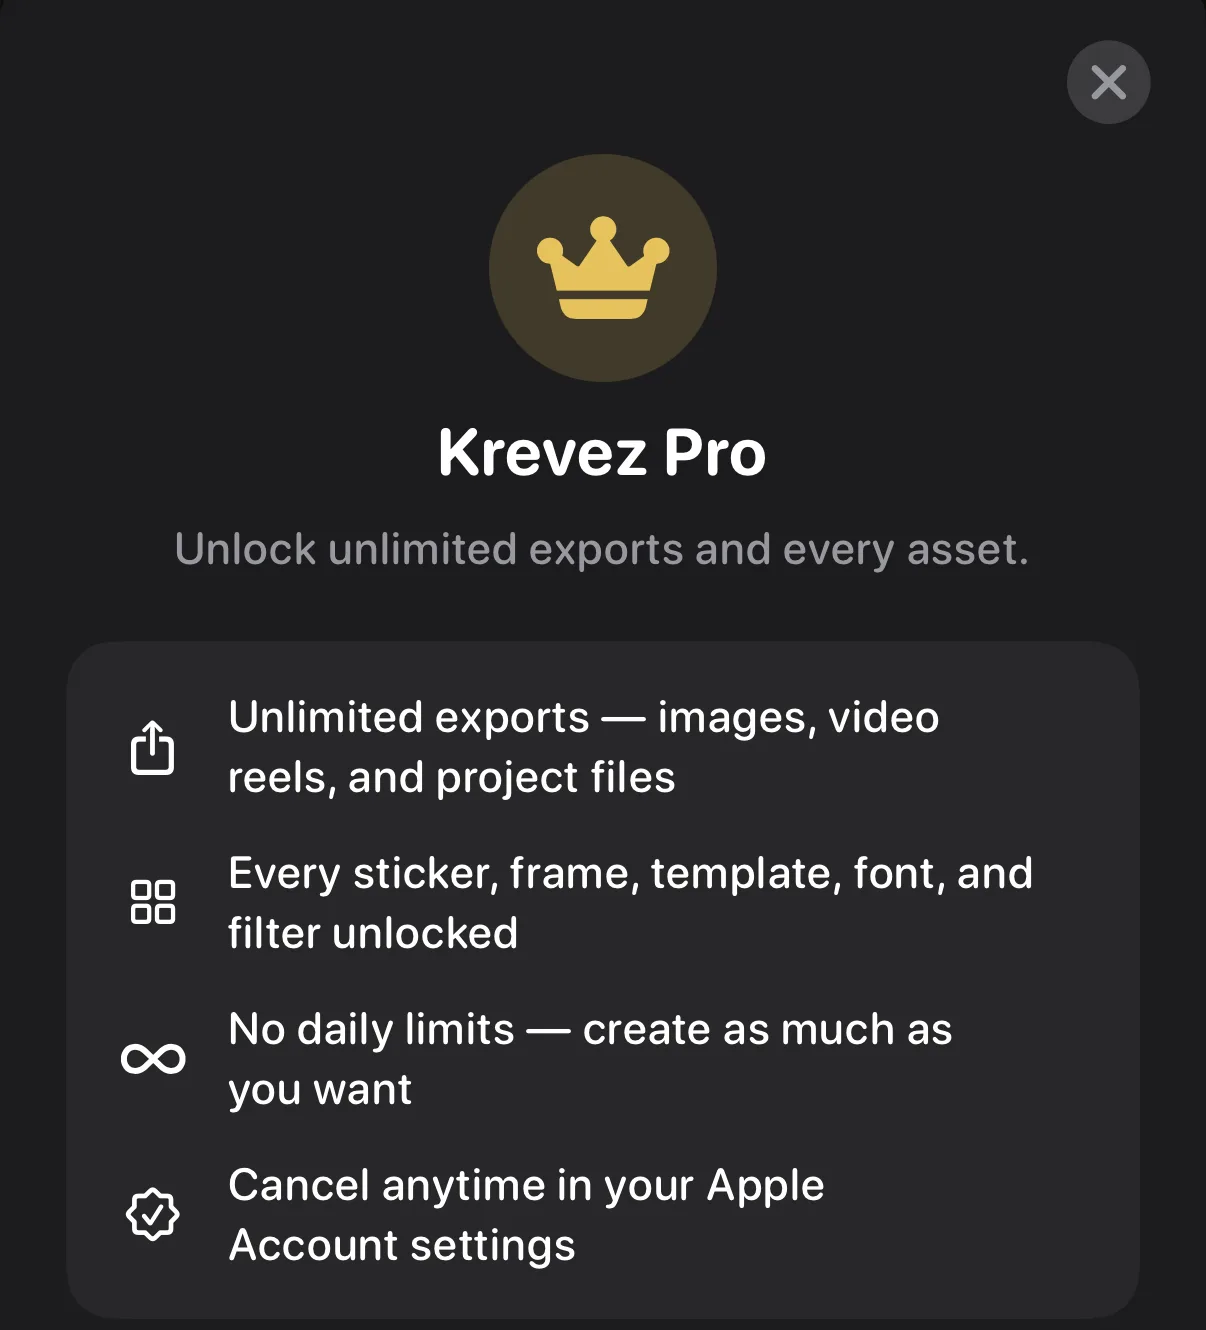
↳ ☰ menu → Upgrade to Pro
Free gives you the first designs in every category and a daily export allowance. Items with a crown badge, and unlimited exports, come with Krevez Pro — monthly, annual, or lifetime. One purchase covers iPhone, iPad, and Mac.
Words you'll see
Seven terms, in plain language.
Plain-words dictionary
Carousel, slide, inspector, and friends.
Carousel — a post made of several pictures people swipe through.
Slide — one page of your carousel. The white page is the current slide.
Canvas — the working area where your slide sits.
Layer — one item on a slide (a photo, some text, a sticker). Layers stack, so one can sit in front of another.
Inspector — the right-hand panel of tools for whatever is selected.
Template — a ready-made design you can start from or save yourself.
Pro — the optional subscription that unlocks every asset and unlimited exports.
The Mac way
Every button also lives in the menu bar — with a keyboard shortcut where it counts.
Every button lives in the menu bar
File · Edit · View · Insert · Arrange · Play.
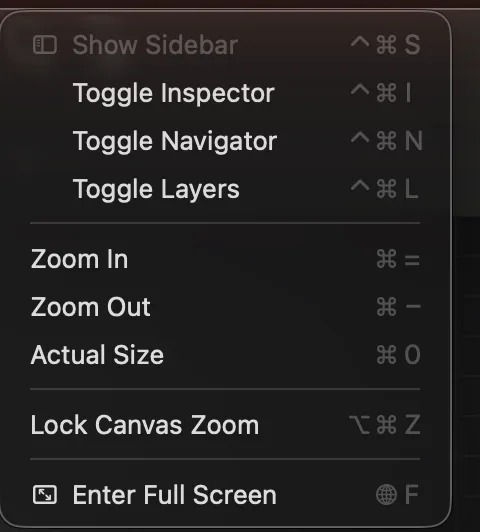
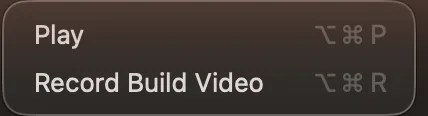
The menu bar mirrors the whole editor. File holds slides, sharing, and exports. Edit holds undo, duplicate, delete, and locking. View shows or hides the panels, zooms the canvas, and locks its zoom. Insert adds photos, text, shapes, and backgrounds. Arrange orders, flips, and nudges whatever is selected. Play previews your carousel or records a build video. If a button ever hides, its menu command is still there.
Keyboard shortcuts
The chords worth learning.
⌘N new slide · ⌘E export images · ⇧⌘E share
⌘Z undo · ⇧⌘Z redo · ⌘D duplicate · ⌘⌫ delete
⌥⌘L lock all · ⌥⇧⌘L unlock all · ⇧⌘⌫ erase
⌃⌘I inspector · ⌃⌘N navigator · ⌃⌘L layers
⌘+ / ⌘− / ⌘0 zoom · ⌥⌘Z lock canvas zoom
⇧⌘T insert text · ⌘L lock selection
⌘] / ⌘[ bring forward / send backward
⇧⌘] / ⇧⌘[ bring to front / send to back
Arrow keys nudge the selection (⇧ ×10, ⌘ ×50)
⌃Tab / ⌃⇧Tab select the next / previous item
⌥⌘P play · ⌥⌘R record a build video